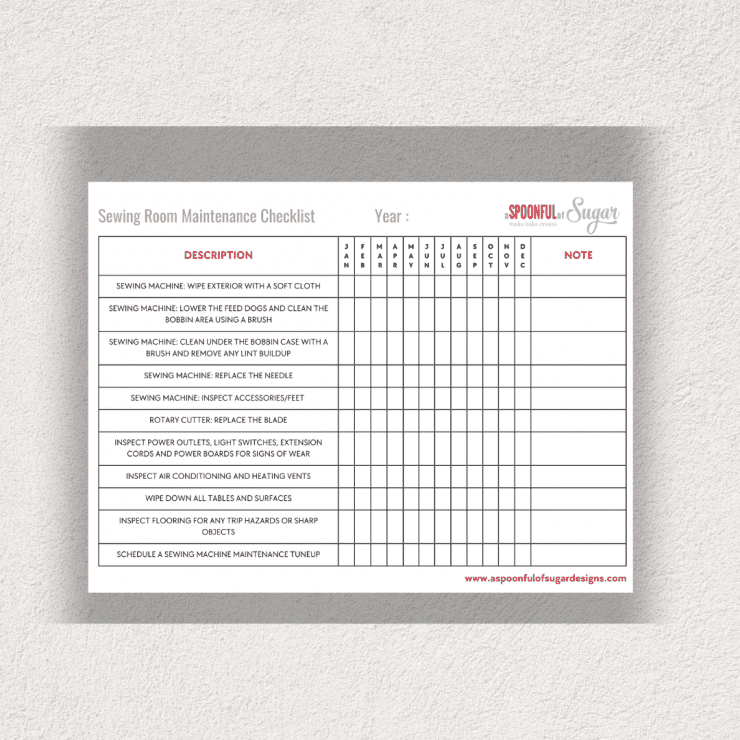
Every sewing enthusiast knows that heartbreaking moment when you are in the middle of a perfect seam and suddenly the machine starts making a clunky sound or the thread begins to bunch up underneath the fabric. It is a frustrating experience that can put a complete halt to your creative flow. Most of the time, these issues stem from a lack of regular upkeep. To keep your creative sessions smooth and stress-free, using a sewing machine maintenance checklist template can be a total lifesaver. It helps you stay organized and ensures that you do not overlook the small details that keep your machine running like a dream.
When we think about our sewing machines, we often treat them like indestructible appliances that should just work whenever we flip the switch. However, these machines are intricate pieces of engineering with many moving parts that rub against each other at high speeds. Just like a car needs an oil change and a bicycle needs its chain greased, your sewing machine requires a bit of tender loving care to maintain its precision. A well-maintained machine not only produces better stitch quality but also lasts significantly longer, saving you a lot of money on professional repairs or early replacements.
The beauty of having a dedicated routine is that it takes the guesswork out of the process. You no longer have to wonder when the last time you changed your needle was or if the bobbin area is getting too dusty. By following a structured guide, you can catch minor issues before they turn into major mechanical failures. This conversational guide will walk you through the essential steps of keeping your machine in top shape, making the whole process feel less like a chore and more like a natural part of your sewing journey.
Understanding the Core Components of Machine Care
The first step in any maintenance routine is understanding that lint is the ultimate enemy of your sewing machine. Every time the needle passes through fabric, tiny fibers are sheared off and settle into the crevices of the machine. Over time, these fibers mix with the lubrication oil to create a thick, sticky grime that can slow down the internal mechanisms or cause the timing to shift. This is why a thorough cleaning of the bobbin area is the most frequent task you will find on any reliable maintenance guide. It is amazing how much debris can accumulate after just one large project.
While cleaning is vital, many people forget that the exterior of the machine needs attention too. Dust can settle on the tension discs and the thread path, which eventually gets pulled down into the inner workings. Simply wiping down the outside of your machine with a soft, lint-free cloth can prevent a lot of this surface dust from migrating inward. You should also pay attention to the handwheel and the area around the needle bar. Keeping these surfaces clean ensures that your thread moves freely without picking up any unwanted hitchhikers along the way.
Deep Cleaning the Bobbin Area
To really get in there and clean, you will need to remove the stitch plate and the bobbin case. This might feel a little intimidating the first time, but it is a standard procedure for any sewer. Once you have access to the feed dogs and the race way, you can use a small nylon brush to gently whisk away the lint. It is important to avoid using canned air because it often just blows the lint deeper into the mechanical parts where you cannot reach it. Instead, focus on pulling the lint out or using a tiny vacuum attachment if you have one.
As you are cleaning, take a moment to inspect the bobbin case for any tiny nicks or scratches. If a needle has struck the case in the past, it might have left a burr that can snag your thread and cause tension issues. If you find a rough spot, you can sometimes gently smooth it out with fine sandpaper, or you may need to replace the case entirely. This level of detail is exactly what makes a manual check so valuable because it forces you to look at parts you usually ignore during active sewing sessions.
The Importance of Lubrication
Once everything is clean, it is time to talk about oiling. Not every modern machine requires user lubrication, so you must always check your specific manual first. If your machine does require oil, only use high-quality sewing machine oil. Using other types of household oil can ruin the delicate parts of your machine. You only need a tiny drop on the specific points mentioned in your manual, usually where metal parts rub against each other in the bobbin race. Over-oiling can be just as bad as under-oiling because the excess fluid will just attract more lint and potentially stain your fabric.
After you have applied the oil, it is a good idea to run the machine without any thread for a minute or two. This helps the oil distribute evenly across the moving surfaces. You should also sew a few lines on a scrap piece of fabric to ensure that any excess oil is absorbed by the scrap rather than your main project. This simple step can save you from the heartache of seeing a dark oil spot appear on a piece of expensive silk or cotton. Consistent lubrication keeps the machine quiet and prevents the metal components from wearing down prematurely.
Setting Up Your Regular Maintenance Schedule
Creating a habit is the best way to ensure your machine stays healthy for years to come. You do not need to do a deep clean every single time you sit down to sew, but having a set of tasks for different intervals is very helpful. For example, some tasks should be done daily or after every project, while others can wait until the end of the month. By incorporating a sewing machine maintenance checklist template into your workspace, you can easily track these tasks without having to remember everything by heart.
The needle is perhaps the most replaced yet most neglected part of the sewing process. Many people wait until a needle breaks to change it, but a dull needle can cause skipped stitches, fabric pulls, and can even damage the internal timing of your machine. A fresh needle is the cheapest and easiest way to improve your sewing results instantly. Make it a rule to start every major new project with a brand new needle suited for the fabric type you are using. This small change in your routine will significantly reduce the amount of troubleshooting you have to do.
Finally, do not forget about the tension discs. Occasionally, a tiny piece of thread or a bit of lint can get caught between the discs, causing your stitches to look uneven or loose. You can clean this area by taking a piece of unflavored dental floss and running it through the tension path with the presser foot up. This acts like a little piece of sandpaper to clear out any debris. Once you have finished your routine check, you will feel a lot more confident heading into your next project knowing that your equipment is in peak condition.
Taking the time to care for your tools is a sign of a true craftsperson. It shows that you value the work you do and the equipment that helps you bring your visions to life. While it might seem like a lot of steps at first, once you get into the rhythm, it only takes a few minutes out of your day. The peace of mind that comes from a quiet, smooth-running machine is well worth the effort, allowing you to focus entirely on the joy of creating something beautiful with your own two hands.
As you continue your sewing journey, remember that your machine is your partner in every stitch. Treating it with respect and providing regular maintenance ensures that it will be there for you through many years of quilts, garments, and home decor projects. Whether you are a beginner or a seasoned pro, staying on top of these simple tasks will make your hobby much more enjoyable. So, grab your brush and oil, and give your machine the attention it deserves today.


