Getting to the end of a music project is one of the toughest challenges for any producer or songwriter. You spend hours tweaking a synth lead or rewriting a bridge, only to find yourself stuck in a loop of never-ending adjustments. This is exactly why having a reliable finishing a song checklist template can save your creative sanity and help you actually release music instead of letting it rot in your hard drive.
Most of us suffer from the dreaded ninety percent syndrome where the song is almost there but lacks that final polish. It feels like the more you listen, the more problems you find, which leads to burnout and frustration. By breaking down the final stages into manageable steps, you take the guesswork out of the process and give yourself a clear path to the finish line.
Finishing music is as much about discipline as it is about talent. It requires switching from the creative right brain to the analytical left brain during the final hours of work. When you stop wondering what else needs to be done and start following a specific set of rules, the anxiety of hitting the export button starts to fade away and becomes an exciting milestone.
Breaking Down the Final Production Phase
Before you even think about mastering, you need to ensure the arrangement is solid. A song that feels too repetitive or lacks energy shifts will never sound finished no matter how good the mix is. Look for areas where the energy dips too low or where the transitions feel clunky. Sometimes, removing a four bar section can do more for a track than adding three new layers of instruments because it keeps the listener engaged.
Perfecting Your Vocal Takes and Edits
Vocals are usually the centerpiece of any track, so they deserve a huge chunk of your final attention. Go through every line and check for timing issues or pitch inconsistencies that might distract the listener. It is not about making them sound robotic, but rather about ensuring the performance feels professional and intentional within the entire context of the music.
Breath sounds and background noise should also be addressed during this stage. While some breaths add emotion, others might be too loud or cut off awkwardly between phrases. Cleaning up the silent parts of your vocal tracks ensures that your compressor does not bring up unwanted room noise during the quiet sections of the song, which keeps the recording sounding pristine.
Cleaning Up the Instrument Layers
Once the vocals are set, turn your focus to the melodic and rhythmic elements. Listen for frequency masking where two instruments are fighting for the same space in the mix. If your synth and your guitar are clashing, decide which one should take the lead and which one should be tucked back. This kind of objective decision making is what separates a demo from a finished record.
Check your drum samples and percussion for phase issues, especially if you are layering multiple kick or snare sounds together. A weak sounding drum often is not a volume problem but a phase cancellation problem that sucks the life out of the low end. Fixing these small technical details adds up to a much more impactful and powerful final output that translates well to different speakers.
Finally, take a moment to listen to the song at a very low volume. This is a classic trick used by pros to see if the balance holds up when the Fletcher Munson curve is not tricking your ears. If the lead vocal or the snare disappears completely when the volume is turned down, you probably need to adjust your levels. This ensures that the song sounds great on everything from high end monitors to tiny phone speakers.
Preparing Your Track for Mixing and Mastering
Transitioning from the creative phase to the technical phase requires a change in mindset. You need to make sure your project file is organized so that you or your mixing engineer can work efficiently. This means labeling every track clearly, coloring them by group, and removing any plugins or hidden tracks that are not being used in the final version of the song.
It is also vital to check your headroom before exporting your stems or the final mixdown. If your master fader is hitting the red, you are losing quality that cannot be recovered later in the process. Aim for a few decibels of peak headroom to give the mastering process enough room to breathe and apply the final compression and limiting needed for commercial loudness standards.
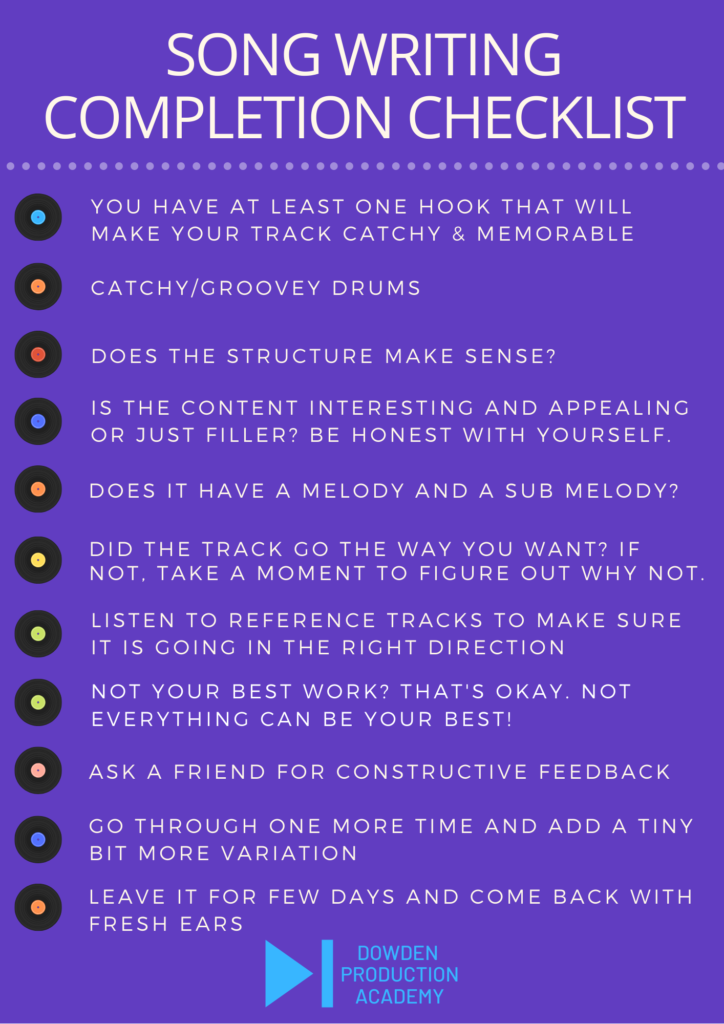
Using a finishing a song checklist template helps you remember these technical steps that are easy to overlook when you are caught up in the emotion of the music. Here are some of the most critical things to double check before you consider the job completely done:
At some point, you have to trust the work you have put in and decide that the song is ready for the world. Perfection is an impossible goal that often acts as a shield for the fear of judgment from others. By following a structured approach, you give yourself the confidence to say that the project is as good as it can be right now, allowing you to move on to the next creative endeavor with a clean slate.
Every finished song is a lesson learned and a stepping stone toward your growth as an artist. The more projects you complete, the faster and more intuitive the process becomes over time. Take a deep breath, export that final file, and celebrate the fact that you did what many people struggle to do which is finishing what you started.


